Docker basics: communication between container using docker network


For most of the time, we certainly won't be only using one container for our app. For example, our app may need a database, so we need a database image and container separated from our main app container. And our app container needs a way to access that database container. This is where we need a docker network in order for them to communicate with each other.
Creating our anime API container
For the sake of experimentation, we need to create two containers. So let's just create two simple images with different functionalities. Let's keep our app simple, and let the container communicate with each other over the network.
We'll be going to create a simple web app, showing an image and title of an anime using jikan api. Jikan is an Unofficial MyAnimeList API. It scrapes the website to satisfy the need for an API - which MyAnimeList lacks.
Our app containers will be created using node.js, so please make sure that you have node.js installed on your machine if you want to follow along with this tutorial. But to run our app on a container, we don't need to install node.js on your machine, docker will take care of it for us by using node.js image.
So, let's create a new directory in our local machine named docker-network. Inside that directory, let's create a new directory called image-api. Inside this image-api directory is where we'll gonna create our first container.
Please run this command on your terminal/cmd:
npm init -y
That command will be going to create a new package.json file inside our image-api directory with the default configuration. After that, we'll use a node package called axios in order to use jikan api. So let's install it by running this on the terminal:
npm install --save axios
After installation we'll going to see axios in our package.json dependencies. And after that create a file called server.js. This is the file that going to be our main file for this container, and paste this code inside of it:
const axios = require('axios');
const http = require('http');

const PORT = 8080;

http.createServer(function (req, res) {
    const url = req.url;
    if (url === '/anime') {
        axios.get('https://api.jikan.moe/v3/anime/1')
            .then(anime => {
                const data = anime.data
                const json = JSON.stringify(data);
                res.writeHead(200, {"Content-Type": "application/json"});
                res.end(json);
            })
    }
}).listen(PORT, function() {
    console.log("server start at port %s", PORT);
});
From the code, we can see that we're using axios and http for our app. The http package is a node.js module, so we don't have to install it like axios before. After that, we define our port which is 8080. And we're going to create a server using http module, and if user hit /anime endpoints, then we're going to do a get request to the https://api.jikan.moe/v3/anime/1 API, which is going to get an anime with an id of 1. Lastly, we just have to return the data as a JSON.
For those that don't know what a JSON is, you can try to access https://api.jikan.moe/v3/anime/1 on your browser URL and see the object that was being sent back.
Now, let's try to run our app using the command:
node server.js
It will execute our server.js file using node and run the server. Now, try to access localhost:8080/anime inside our browser. We should get the same response as when we try to access https://api.jikan.moe/v3/anime/1. If that's right, then we can start creating our Dockerfile.
Start by creating a file called Dockerfile (no extension) in our image-api folder and paste this instruction inside of it:
FROM node:14 as builder
WORKDIR /app
COPY package.json /app
RUN npm install

FROM node:14
EXPOSE 8080
CMD ["node", "server.js"]
WORKDIR /server
COPY --from=builder /app/node_modules /server/node_modules
COPY server.js .
We use the multi-stage docker build that we've learn here. We can see that the first stage, we just move our package.json into our working directory (/app), and install it. It will generate a directory called node_modules inside our working directory.
In the second stage, we define our container port, command to run our image, and working directory called /server. Then, we copy the node_modules from our first stage (called builder stage) and move it to our current working directory /server and then we copy the rest of our code to our current working directory.
Now, we can build our image using the command:
docker build -t image-api .
We name our image image-api and the . is telling docker that use the current directory to create the image (because our Dockerfile is inside the current directory).
Now we can run the image, but before that, we have to know that docker won't let containers to communicate with each other unless they shared the same network. Containers access each other across a virtual network, using the virtual IP address that Docker allocates when it creates the container. You can create and manage virtual Docker networks through the command line:
docker network create nat
If you're getting an error, that means that your docker-machine already have a network called nat, so it's okay if you ignore the error. Now, we can use this network when we run our container like this:
docker container run --name imageapi -d -p 3000:8080 --network nat image-api
It will run our container on a network called nat that we just created and we name this container imageapi. The name is important because we're going to use that in order to communicate between container. We also mapped the port 8080 of our app to the port 3000 to our local machine. -d means to run it in the background.
Now we can try to access our browser and hit localhost:3000/anime and we got to see the same response that we got when we run it manually inside our machine before.
Creating our web container
If we're going to show our image by consuming API, then we need a UI to show it, and that's why we're going to create the web this time. This is going to be a very simple site without any CSS using node.js engine.
Let's start by creating a new directory inside our root docker-network directory called anime-web. This directory must be parallel with the image-api directory. And inside this anime-web directory is where we'll host our web code.
So, inside our anime-web directory, we're going to do the same as previous directory, that is creating our package.json by using the same command:
npm init -y
This web app is going to use three node package manager, that is dotenv, express, and axios. So let's install it all using the command:
npm install --save express dotenv axios
Now, inside this anime-web directory, please create a new directory called src. And inside of that src directory we're going to create a file called app.js which going to be our web entrypoint and paste this code inside of that app.js file:
require('dotenv').config()
const express = require('express')
const axios = require('axios')

const app = express()
const port = 8081

app.set('view engine', 'ejs')
app.set('views', __dirname + '/views')

app.get('/', (req, res) => {
    axios.get(process.env.IMAGE_URL)
        .then(response => {
            const data = response.data
            res.render('index', {
                'data': data
            })
        })
        .catch(err => {
            console.log(err)
        })
})

app.listen(port, () => {
    console.log(`Example app listening at http://localhost:${port}`)
})
As we can see, this time we're going to use port 8081. Our web will only have on route that is / and when user access those route, we will call our image API using axios and render it on the view. We're using ejs for our template engine as we seen on line 8.
But on line 9, we can see that we're using a directory called views for our app views. So we're going to create that folder. Inside our src folder, please create a directory called views and create a file inside it called index.ejs, then paste this code inside of it:
<!DOCTYPE html>
<html lang="en">
<head>
    <meta charset="UTF-8">
    <meta http-equiv="X-UA-Compatible" content="IE=edge">
    <meta name="viewport" content="width=device-width, initial-scale=1.0">
    <title>Anime image</title>
</head>
<body>
    <div id="app">
        <img src="<%= data.image_url %>" alt="anime image">
        <h1> <%= data.title %> </h1>
    </div>
</body>
</html>
Now that we have finish our app, let's run it using the command:
node src/app.js
We have to run that command from our root anime-web directory. And now we can start to create the Dockerfile for this app. First, let's start by create a new Dockerfile in our root anime-web directory and paste this instruction inside of it:
FROM node:14 as builder
WORKDIR /app
COPY package.json .
RUN npm install

FROM node:14
ENV IMAGE_URL=http://animeimage:8080/anime
EXPOSE 8081
CMD ["node", "app.js"]
WORKDIR /web
COPY --from=builder /app/node_modules /web/node_modules
COPY /src .
After creating the Dockerfile, we can build our image using the command:
docker build -t anime-web .
It's the same as the previous image, the only difference here is the name. Then, we can run our container using the command:
docker run --name animeweb -d -p 3001:8081 --network nat anime-web
This command also the same as the previous container command, the only difference here is the port and name.
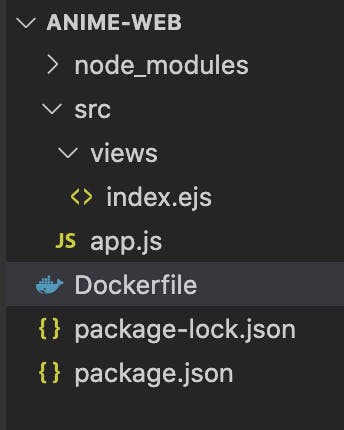
At the end our folder structure for this anime-web directory should look like this:
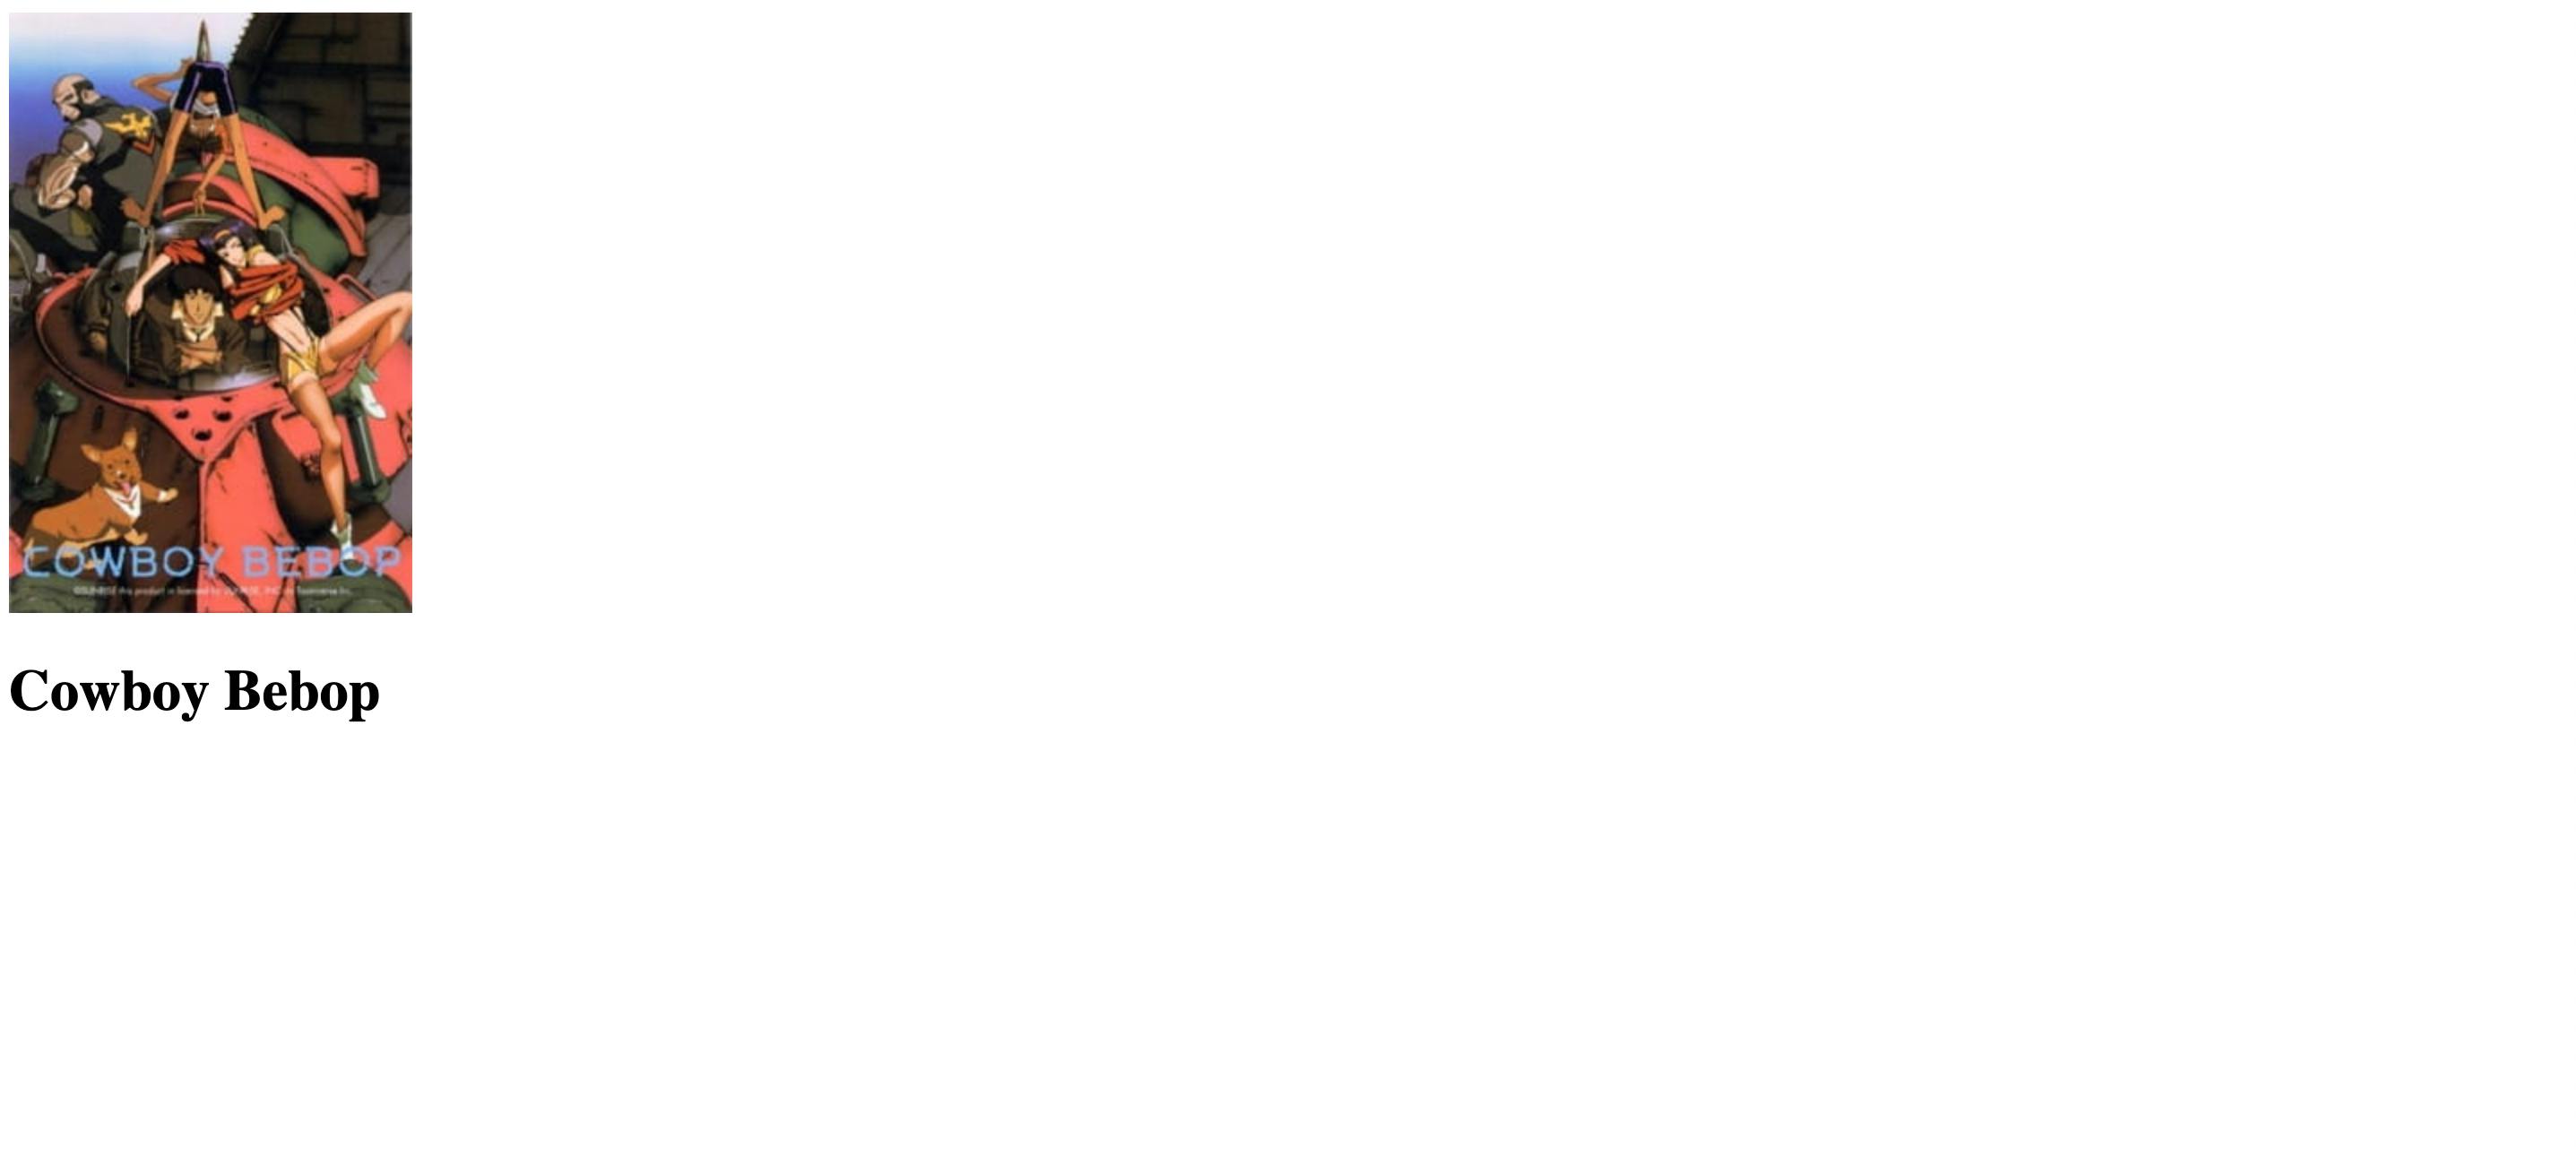
And now if we access localhost:3001 on our browser, we can see something like this:
Why can this anime-web container communicate with the anime-image container ? to put it simply, because container with the same network can reach each other using the container name. As we can see in our anime-web Dockerfile we're putting the address of the anime-image container from this instruction on line 7:
...
ENV IMAGE_URL=http://animeimage:8080/anime
...
We're setting up an environment variable with the value of http://animeimage:8080/anime. As we know that we set our anime-image container with the name animeimage, and the 8080 is the port of our container image app. Even though we already mapped that port 8080 to the port 3000 inside our local machine, the container will still use that port to communicate with each other.
That's why we're creating a new network and attach it to each of our container. Because container can only reach each others out when they're inside the same docker network.